Add a Transparent Stamp to a Word Document
A stamp image can label a draft, identify a business or decorate a letter. It is not a cryptographic signature or proof that somebody authorized the document. Start with a copy of your document so you can compare the result before sharing it.
1. Export a transparent PNG
Open Stampzio, replace the example text and check the spelling. Leave Transparent background enabled beside the download buttons. Choose High (3×) for an ordinary document, then Download PNG. If you see a white box later, return to the maker and verify that the transparency option was checked.
2. Insert the file into Word
In Word, use Insert → Pictures and choose the saved PNG. Keep the image in line with text when you want a predictable position in a paragraph. If it must sit beside text, select the picture and choose a suitable text-wrapping option. Controls vary between Word desktop and Word for the web.
3. Check the final dimensions
Resize proportionally using a corner handle or the picture size controls. Do not stretch a round stamp into an oval. For a 40 mm example, set the picture width to 4 cm and keep its aspect ratio. The editor preview and pixel dimensions alone do not set the size Word will use.
4. Inspect the finished document
Save a copy and inspect the document at normal reading size. If exporting to PDF, inspect that PDF too: the smallest letters should remain readable and the stamp should not obscure important text. If it looks blurred, download a higher-resolution PNG and insert the original file instead of a screenshot.
Common placement problems
A moving picture is usually a layout issue: try an inline placement before changing the artwork. A white square is usually an opaque background. A stamp that is sharp in the file but blurred in the document may have been enlarged or compressed. Keep the original export for comparison.
Word instructions: Microsoft picture insertion and text wrapping.
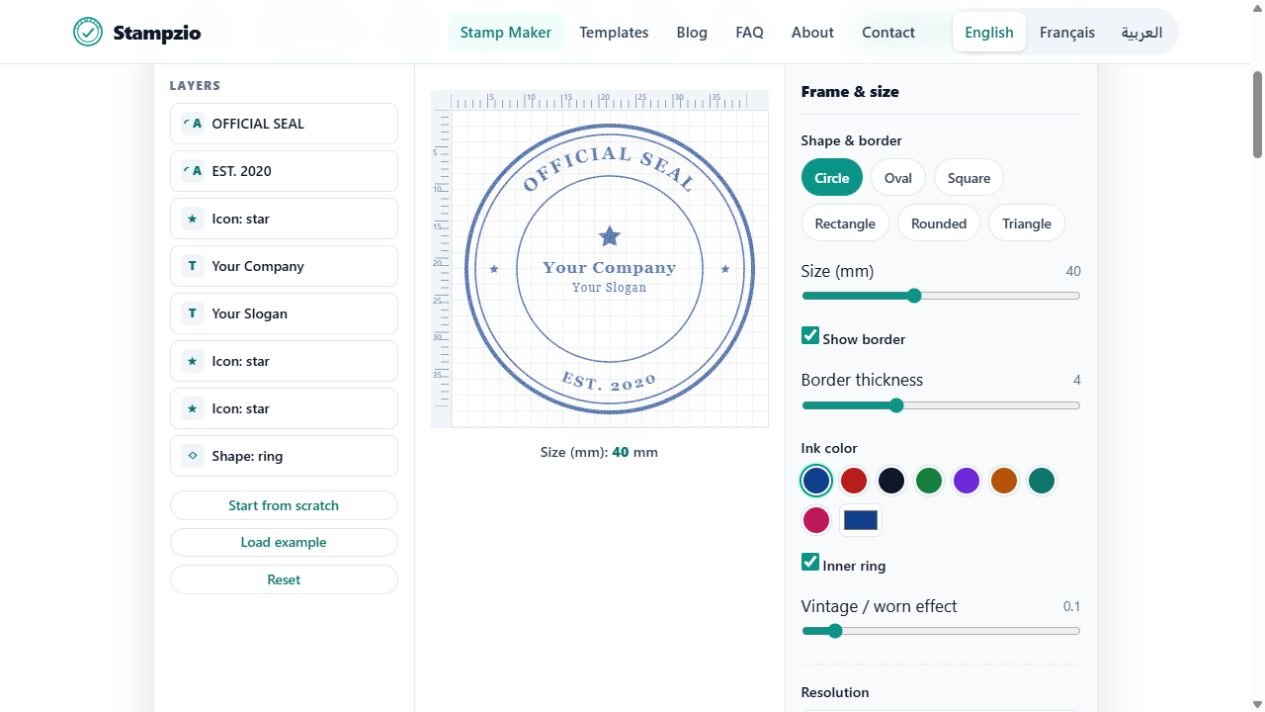
Example exports — fictional sample, not an authorized seal: PNG · SVG.