Create a Stamp for a PDF: Insert, Save and Reopen
Create a transparent PNG in Stampzio, add it as an image in a PDF editor, then save a separate copy and reopen it. A visible stamp labels the page; it does not verify identity, payment or document integrity.
This walkthrough was tested locally in PDFelement 12 on Windows on 17 September 2026 with a fictional invoice. The installed application used French menus; their labels are given alongside the English descriptions below. Features and saving permissions depend on your edition. Stampzio itself does not edit PDFs.
1. Prepare a transparent stamp
Fictional examples. Opening one replaces your current design; download your work first.
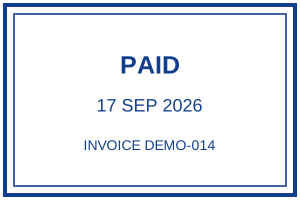
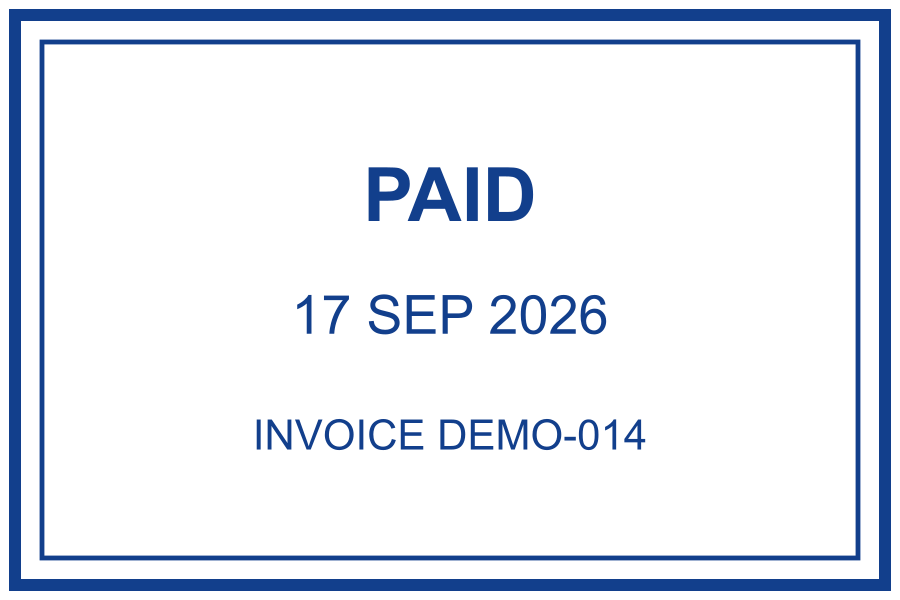
Download the example PNG above, or open it to change the text. If exporting from the maker, leave Transparent background enabled. The provided PNG is 900 × 600 pixels. The date is fixed text and must be replaced for a different document.
2. Open a practice PDF
Download the unstamped practice invoice. It has a clear area above the title and contains no customer or payment details. Start with an unsigned practice copy; changing an already signed PDF can affect its verification.
3. Insert the image
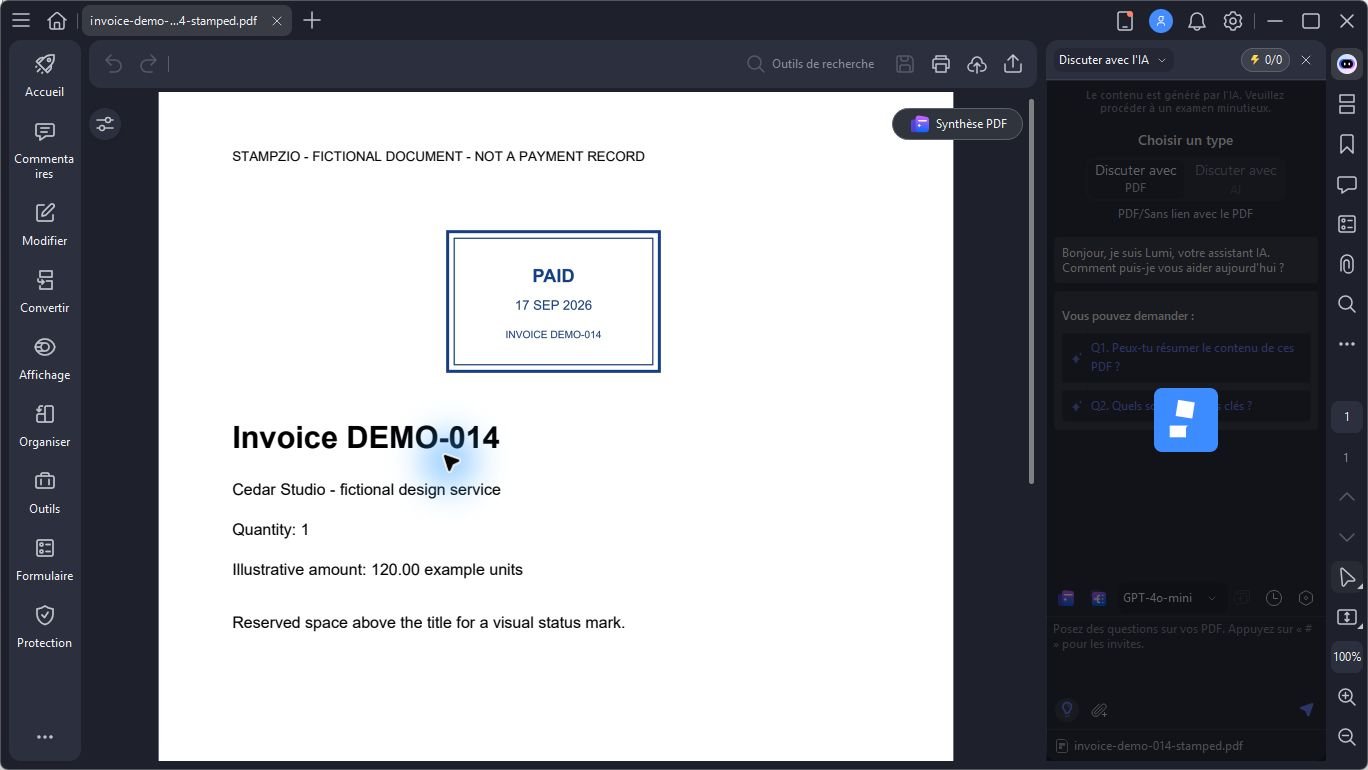
In the tested application, open the PDF and choose Edit (Modifier), then Image → Add image (Image → Ajouter une image). Select the PNG. Place it in the blank area rather than over the amount or invoice reference.
4. Set both dimensions and check the placement
The image initially appeared much larger than the reserved area. Right-clicking it and choosing Properties (Propriétés) exposed width and height in centimetres. In this test, changing width alone did not preserve the ratio: both dimensions needed attention.
A 3:2 PNG at 5.5 cm wide should be about 3.67 cm high. Our final demonstration is approximately 5.76 × 3.85 cm after adjustment. The arrow keys moved the selected image into the blank area. Confirm the dimensions and appearance after any keyboard or handle adjustment.
5. Save a copy, close it and reopen it
Use Save As (Enregistrer sous, Ctrl + Shift + S in the tested application), choose a new filename and save. Close the document, then open that saved copy. We verified that the stamp remained visible, the date and reference were readable, and the invoice text was not covered.
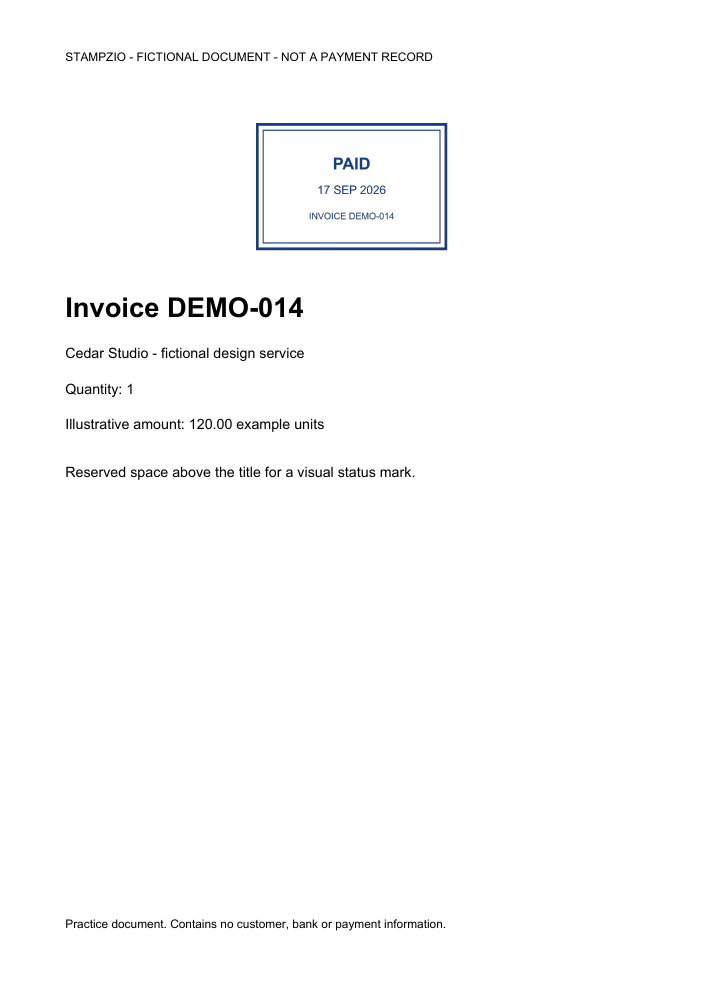
Download the saved PDF with the stamp
See the actual reopened file in PDFelement
If your result differs
- A white rectangle can come from an opaque source image. Confirm transparency in the original PNG.
- A distorted stamp usually means width and height were changed independently. Restore the original ratio.
- A missing image after saving requires checking the saved copy and your editor’s saving permissions.
- A blurred logo needs a better source; simply enlarging the PNG does not restore detail.
If you still have the editable Word document, you can instead insert the stamp into Word and inspect its PDF export. For incoming mail, use the Received template rather than the payment example.