Turn a Logo into a Stamp: A Worked Example
To turn a logo into stamp artwork, simplify the parts that depend on colour or fine detail, then place the remaining symbol beside short, readable text. This worked example uses an original fictional cedar symbol created for this guide.
1. Simplify the source artwork


The simplified artwork was drawn as vector paths. Stampzio did not automatically trace or simplify the source. If your logo is a bitmap, prepare the clean version in an image or vector editor before importing it; saving a bitmap inside SVG does not turn it into paths.
Download the fictional source SVG · Download the simplified SVG
2. Open the editable composition
Fictional examples. Opening one replaces your current design; download your work first.


The example contains an image layer and two text layers. Select the image to adjust its dimensions and placement; select “Cedar Studio” to replace the name. To use your own artwork, add it with Image and remove the old example image layer after checking the replacement.
3. Inspect the space around the logo
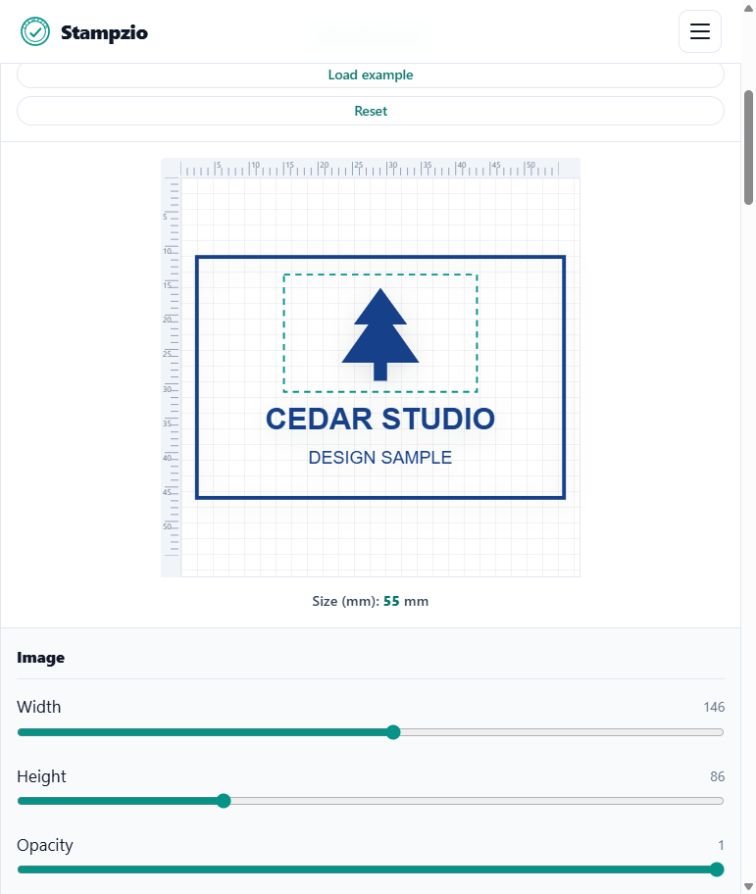
Keep the symbol clear of the name and border. A wide logo may need less height and a larger clear area. Remove the bottom line before shrinking the logo and shop name into unreadable details. Use the clean design first; simulated wear can hide small gaps that matter for a manufactured stamp.
4. Export for the intended use
Use a transparent PNG for a document or packaging mockup. Use SVG when the receiving workflow accepts it, and confirm fonts and embedded images. In this rectangular example, a 55 mm width gives about 36.7 mm height. Set those dimensions separately in the destination layout or supplier request.
5. Make a production proof
Compare the smallest text at the final size, then ask the manufacturer to confirm minimum strokes and material suitability. This screen example does not establish the drying time or durability of real stamp ink. Continue with bag and label placement examples or the manufacturer handoff checklist.