How to Create a Stamp Online: An Editable Example
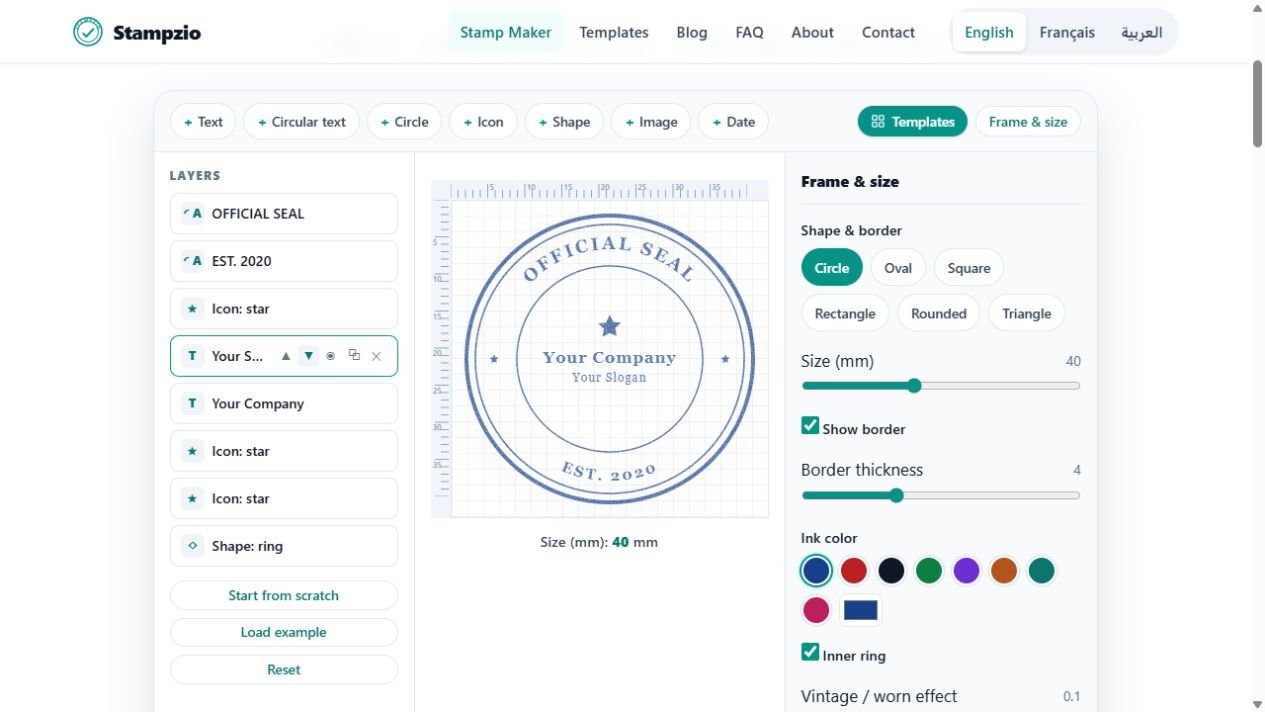
To make a stamp image, choose a layout, replace its sample text, check the smallest line and download PNG or SVG. The example below opens as three separate text layers, so you can change the name without rebuilding the design. Stampzio creates the image; insertion into Word or a PDF happens in another application.
Start with a reproducible example
Fictional examples. Opening one replaces your current design; download your work first.

1. Choose a layout that fits the wording
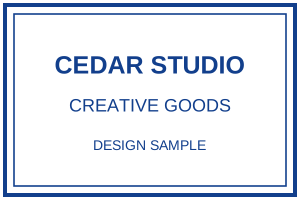
Open the example below or choose a blank layout from the template gallery. This rectangle has room for a name and two shorter lines. Use a circle for compact wording; a full address may need a wider rectangle. Opening an example replaces the current design, so download any work you want to keep first.
2. Replace every sample line
Select CEDAR STUDIO in Layers and change the text field. Select CREATIVE GOODS separately to change the activity. Remove or replace DESIGN SAMPLE. Review the preview after each change: a longer name may need a smaller font or a different layout.
3. Adjust the frame and optional elements
Use Frame & size for the outline, border colour and worn effect. Use Text to add a straight line, Circular text for an arc, and Image to import your own logo. Select the new layer to change its size and position. For a date that must remain a specific historical value, enter it as ordinary text and verify it before export.
4. Export the original image
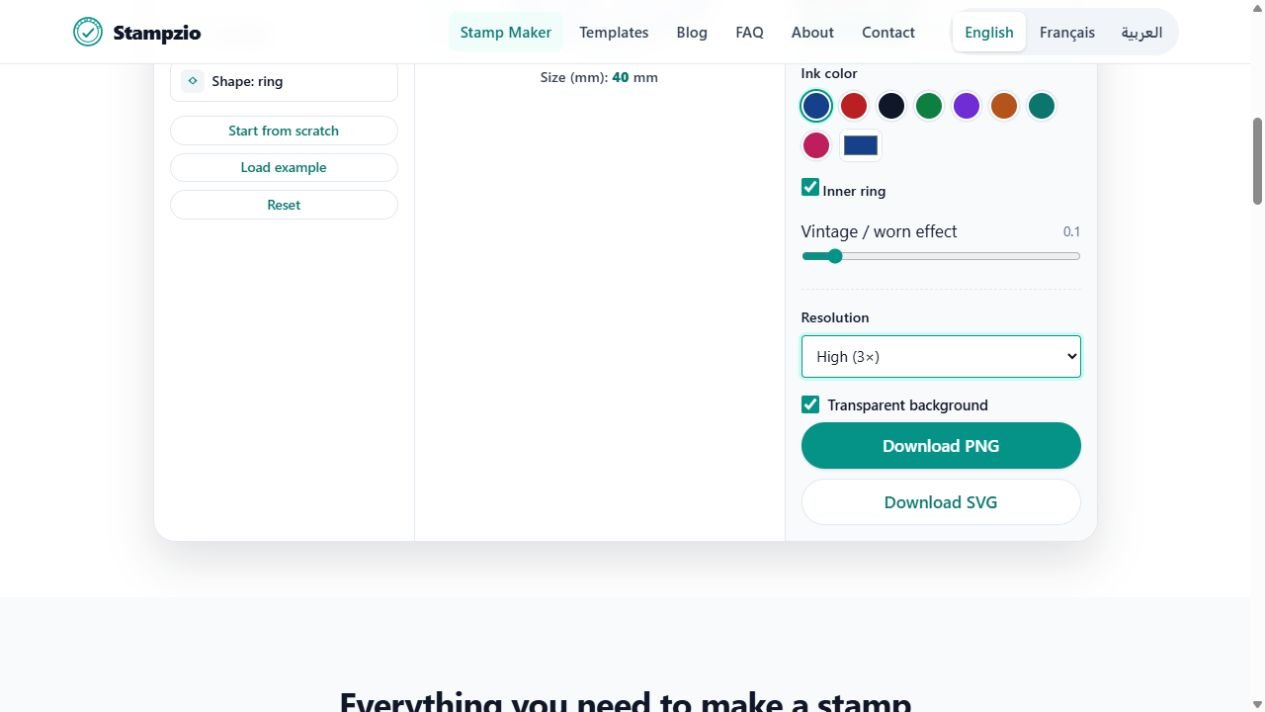
Choose High (3×) and leave Transparent background selected for a document image, then use Download PNG. This rectangular canvas produces 900 × 600 pixels at 3×. Download SVG separately if you need vector elements. Neither download is a saved Stampzio project that restores all editing controls later.
5. Check the file where it will be used
Open the downloaded image, insert it into your document and set its width with proportions preserved. For a 55 mm-wide example, enter 5.5 cm; the rectangle becomes about 36.7 mm high. If that is too tall for the form, change the layout rather than stretching the image. Reopen the final document to check the smallest letters.
If the result is not what you expected
- The name touches the border
- Shorten a secondary line, move it or change the layout before shrinking everything.
- The logo has a white box
- The imported logo may already have a white background. Use a transparent source; canvas transparency does not remove it.
- The document image is blurry
- Compare the original PNG with the inserted version. Avoid enlarging a small copy or using a screenshot.
- The SVG text changes on another computer
- Check font availability in the receiving application. Use PNG if you need the rendered appearance preserved.
Continue with the task you actually need
Add a Transparent Stamp to a Word Document
Find the controls in Stampzio